

Step-by-Step Guide to Installing a Linear Guide
Step-by-Step Guide to Installing a Linear Guide: Surface Preparation, Master Rail Alignment, Parallelism, Torque, and Initial Lubrication. The Practical Guide to Ensuring Success.
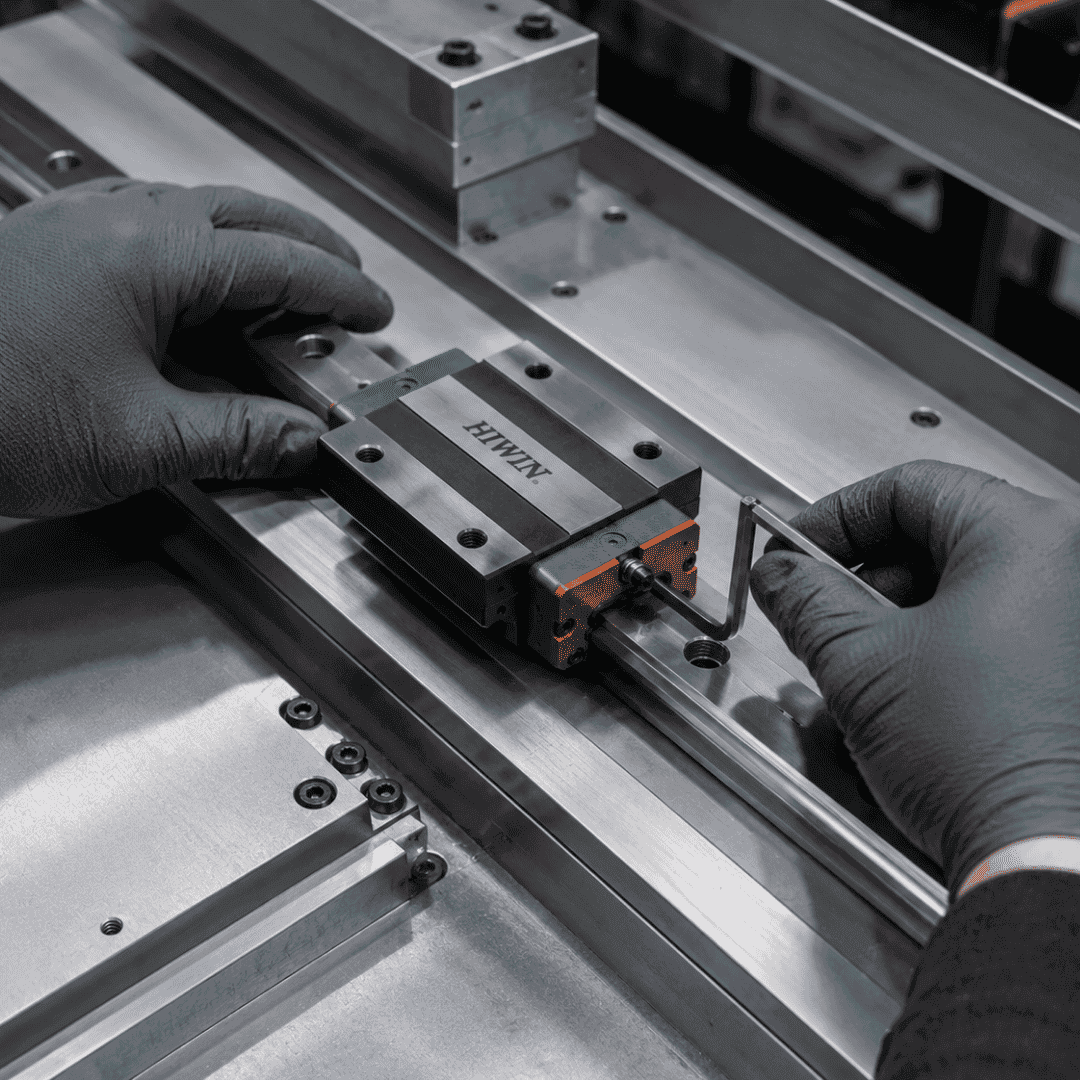
Installation is the most critical stage in the life of a linear guide, and the stage where the most mistakes are made. Even the highest-quality linear guide will lose precision and fail prematurely if installed incorrectly. Doing it right isn’t complicated, but it requires a systematic approach and careful attention at every step. Here is the step-by-step procedure for properly installing a profile linear guide, highlighting the critical points that make all the difference.
Before You Begin: Preparation
Gather the necessary items: the guide, the correct screws, a torque wrench, lubricant, and a dial indicator to check the alignment. Make sure the mounting surface is clean and free of burrs, dents, and dirt. Any particle under the rail creates a high spot that compromises straightness. Also clean the reference surfaces (the machined shoulders against which the rail will rest).
Step 1: Check the mounting surface
The base must be flat and level within the tolerance required by the guide's accuracy class. A poorly machined surface transfers its errors to the guide: if the base is warped, the rail becomes warped, and the carriage copies that warping. In precision applications, flatness is checked before assembly. The lateral reference faces must be clean and undamaged.
Step 2: Install the main (reference) rail
When there are two parallel rails, one is the master (it defines the alignment) and the other is the slave (it aligns with the master). Place the master rail against its lateral reference face, press it firmly against it, and begin to insert the screws without tightening them completely. The reference face ensures that the master rail is straight.
Step 3: Tighten the master rail in the correct sequence and to the correct torque
Tighten the screws on the main rail in a progressive sequence from one end to the other, or from the center outward, as specified by the manufacturer, in two or three passes, gradually increasing the torque to the specified value. As you tighten, keep the rail pressed against the reference surface. Never tighten to the final torque all at once or in a random order; this causes stress and misalignment.
Step 4: Align the slave rail
The slave rail is aligned with the master rail. The classic method: mount a carriage on each rail, connect the two carriages (or use a comparator resting on the master carriage to probe the slave), and move them together along the entire length, adjusting the slave until the parallelism is within tolerance throughout the entire length. Tighten the slave using the same sequence and progressive torque, checking the parallelism as you tighten.
Step 5: Check the final parallelism
With both rails tightened, move the carriage along its entire travel range using the dial indicator and verify that the parallelism and height remain within tolerance. A parallelism error generates lateral forces that place excessive preload on the carriage, increase friction, and shorten its service life. This is the step that distinguishes a professional installation from a makeshift one.
Step 6: Initial Lubrication
Before making the first full-load movement, lubricate the guide through the carriage port—even if it comes with factory-applied lubricant—and move the carriage through its entire travel range several times to distribute the grease evenly. Failing to perform this initial lubrication is one of the most common causes of failure in new guides during the first few days.
Step 7: Test Run and Verification
First, operate the guide at reduced speed (break-in) to settle the system and distribute the lubricant, checking that the movement is smooth, with no abnormal noise or sticking points. Check the temperature after the first few hours. If everything is okay, the guide is ready for full-load operation.
Mistakes That Ruin a Good Installation
Even if you follow the steps, keep these points in mind: don't hit the carriage to remove it from the rail (you'll lose balls), don't let the carriage slide off the rail without a guide shaft, always use the torque specified in the manual, and protect the rail from contamination during assembly. We've compiled them in the article on 7 installation mistakes.
Properly installing a linear guide is all about following the right method: a clean, flat surface; the master rail aligned with its reference; gradual tightening to the correct torque; the slave rail aligned with the master rail; verified parallelism; and initial lubrication. Each step helps ensure the system’s precision and service life. At BIOSA MOTION TECHNOLOGIES, we provide technical installation support for your HIWIN guides. For tightening values, check out our article on HIWIN torque.