

How to Install a Gearmotor Step by Step
A correct installation defines a large part of a gearmotor’s service life. This is the recommended procedure to install it without errors.
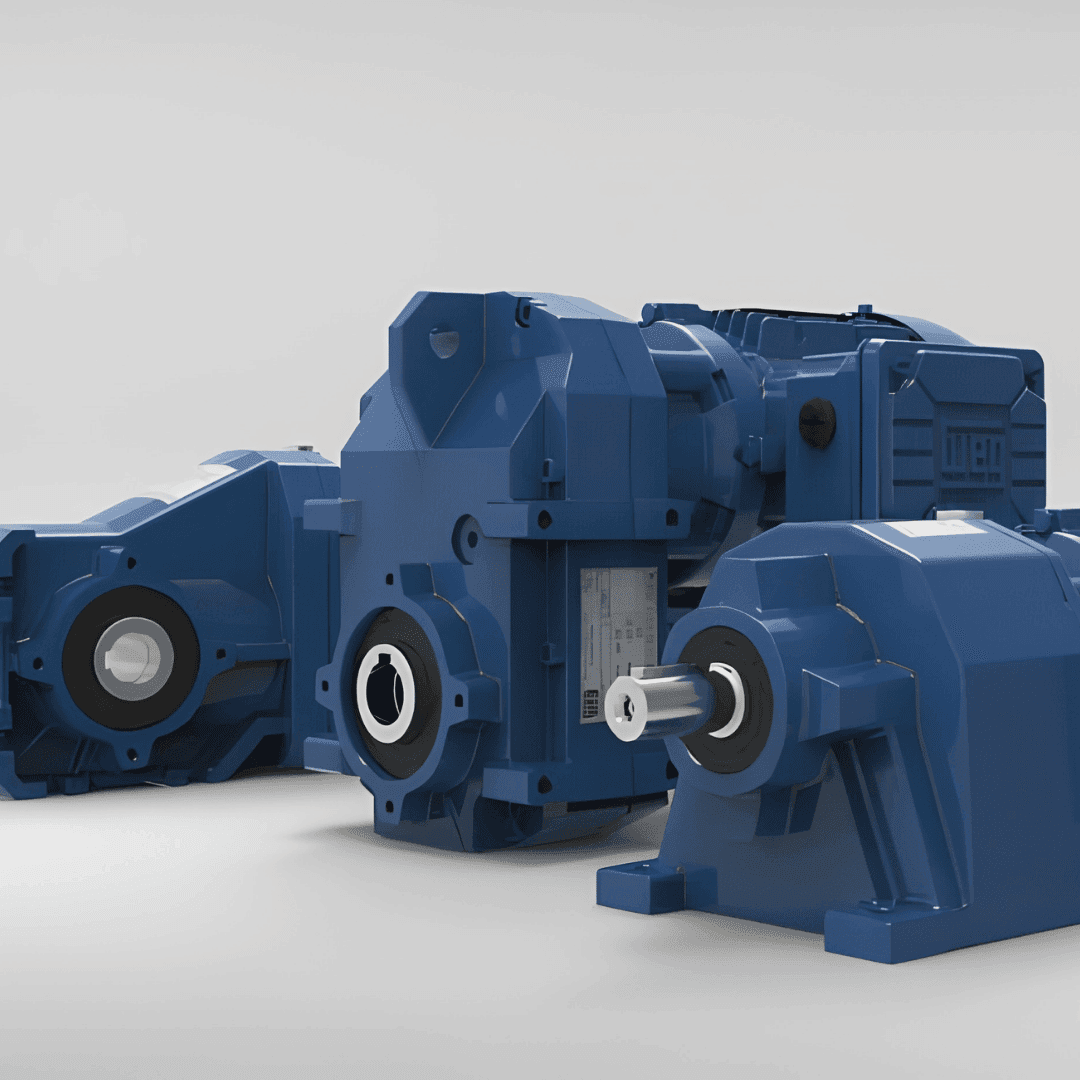
Gearmotor Installation Procedure
Verify the rotation direction of the output shaft before mounting the assembly on the machine, to confirm that it matches the required rotation of the driven equipment. Secure the gearmotor firmly on its base or torque arm, avoiding any looseness that could generate vibration during operation. Remove the blind plug used during transportation and install the proper breather plug before energizing the equipment. Check the oil level through the visual indicator, considering the final mounting position of the gearmotor, since the correct level varies depending on the orientation. Connect the motor to the flange, ensuring compatibility with the NEMA or IEC standard and the correct shaft diameter. Confirm that the motor cooling is sufficient, verifying that there are no obstructions near the motor fan. Perform a no-load startup, checking for the absence of vibration or abnormal noise before gradually applying the full load.
Si el motorreductor estuvo almacenado por periodos largos, de cuatro a seis meses o mas, es recomendable revisar el estado del reten de aceite antes de la puesta en marcha, ya que el material puede haber perdido elasticidad si no permanecio sumergido en lubricante durante el almacenamiento.
If the gearmotor has been stored for long periods, four to six months or more, it is recommended to check the condition of the oil seal before startup, as the material may have lost elasticity if it was not kept immersed in lubricant during storage.